From Screen to Seam:
How to Use Digital A4/US Letter PDF Sewing Patterns
In the digital age, sewing enthusiasts have embraced the convenience and versatility of digital sewing patterns. Whether you’re a beginner or an experienced sewist, learning to use A4/US letter PDF patterns opens up a world of creative possibilities. This guide will walk you through transforming on-screen patterns into beautifully crafted garments.
Discover the benefits of digital patterns, from easy accessibility to endless customization. I’ll cover everything you need to know, from downloading and printing patterns to assembling and cutting. With step-by-step instructions and helpful tips, you’ll gain the confidence to tackle any digital sewing pattern with ease.
So, let’s dive into the world of digital sewing patterns and unlock your creative potential. By the end of this guide, you’ll be ready to turn screen-based designs into stunning, handmade garments that reflect your unique style.
Table of Contents
Why Digital Sewing Patterns Are a Game-Changer for Modern Crafters
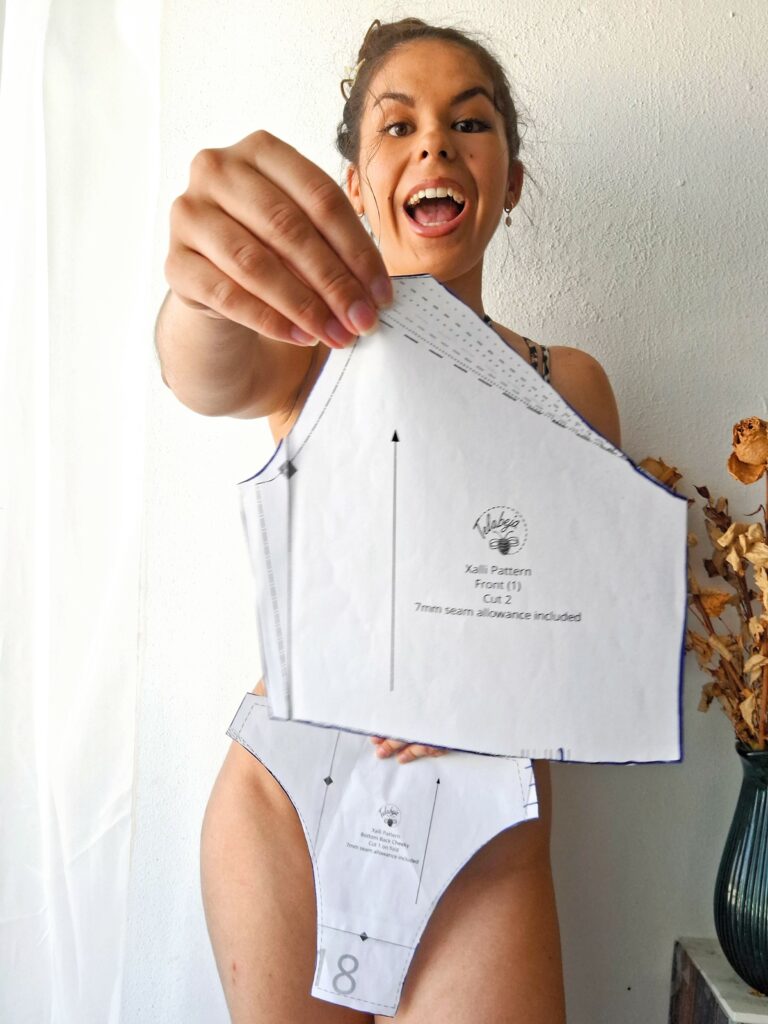
Digital sewing patterns offer numerous benefits for modern sewists, making them a popular choice in the crafting community, some of which are:
- Instant Accessibility: Download and start sewing immediately, eliminating shipping wait times.
- Ease of Storage: Digital files take up no physical space and can be organized neatly on your device.
- Cost-Effectiveness: Often more affordable than printed patterns, with additional savings on printing costs if viewed on a tablet or computer.
- Multiple Size Options and Variations: Many digital patterns include various sizes and styles in a single purchase, offering great value for money.
- Customization Potential: Easily adjust and modify patterns using software to create unique garments tailored to your preferences.
- Sustainability: More eco-friendly than buying paper patterns, reducing paper waste and the environmental impact of shipping.
While digital patterns offer numerous advantages, it’s worth noting that printing and assembling them yourself can be time-consuming, and technical issues may occasionally arise. However, these minor drawbacks are far outweighed by the benefits, making digital sewing patterns an excellent choice for both beginners and experienced sewists looking to expand their creative horizons.
The Complete Guide to Printing and Assembling Digital Sewing Patterns
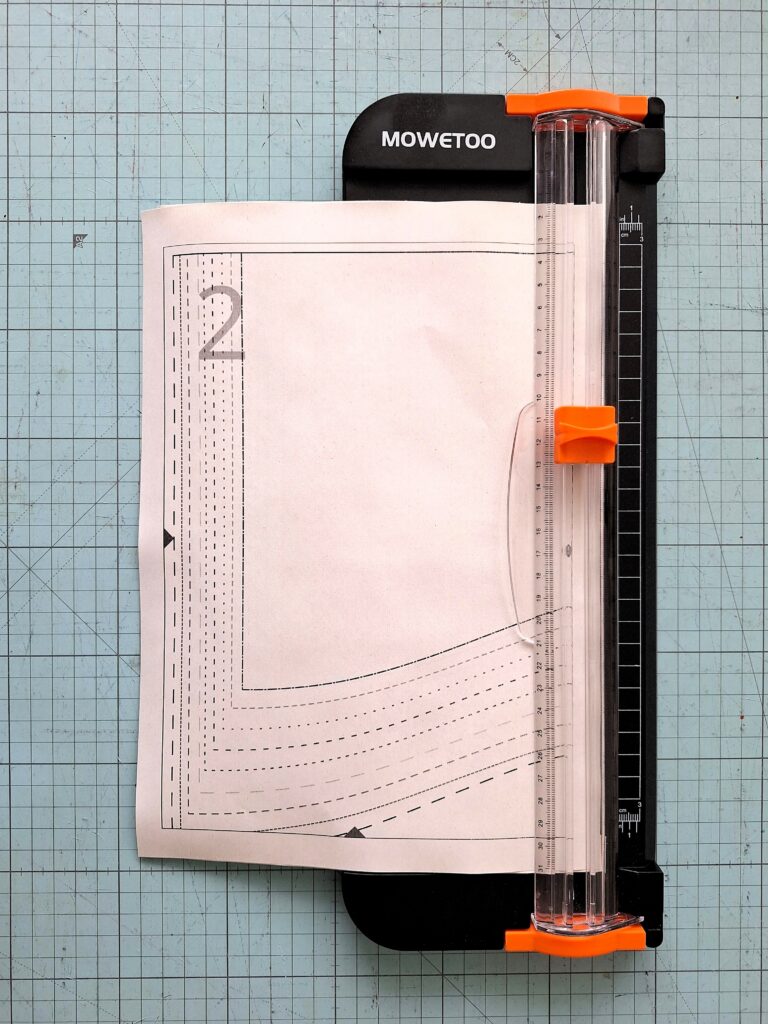
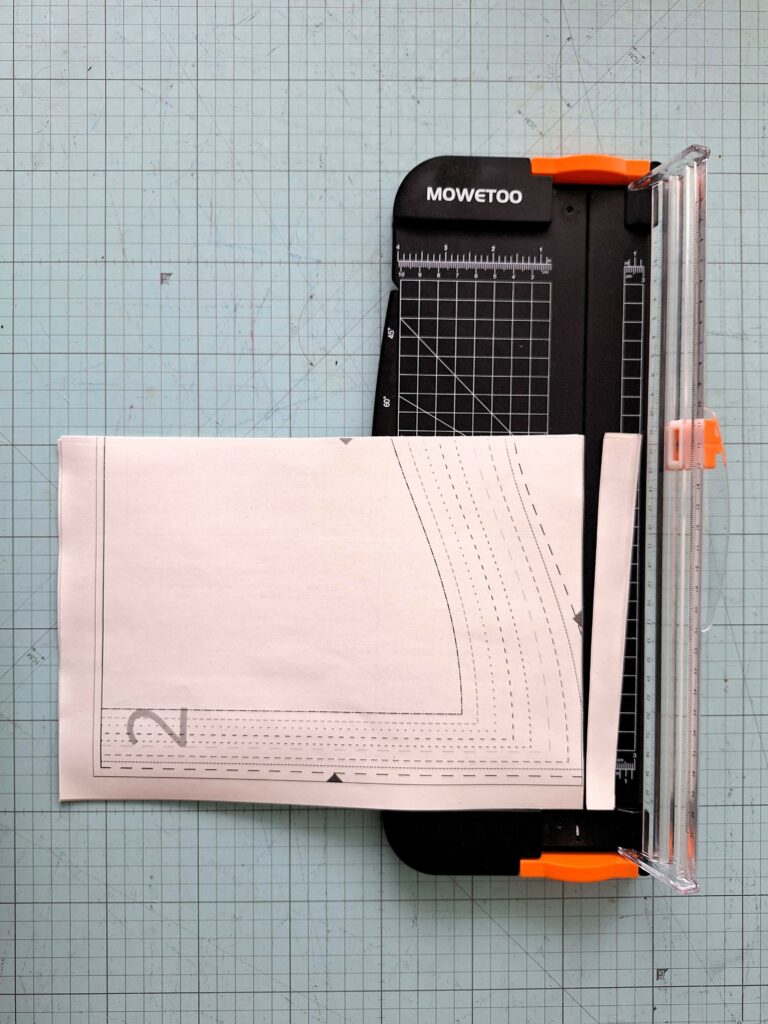
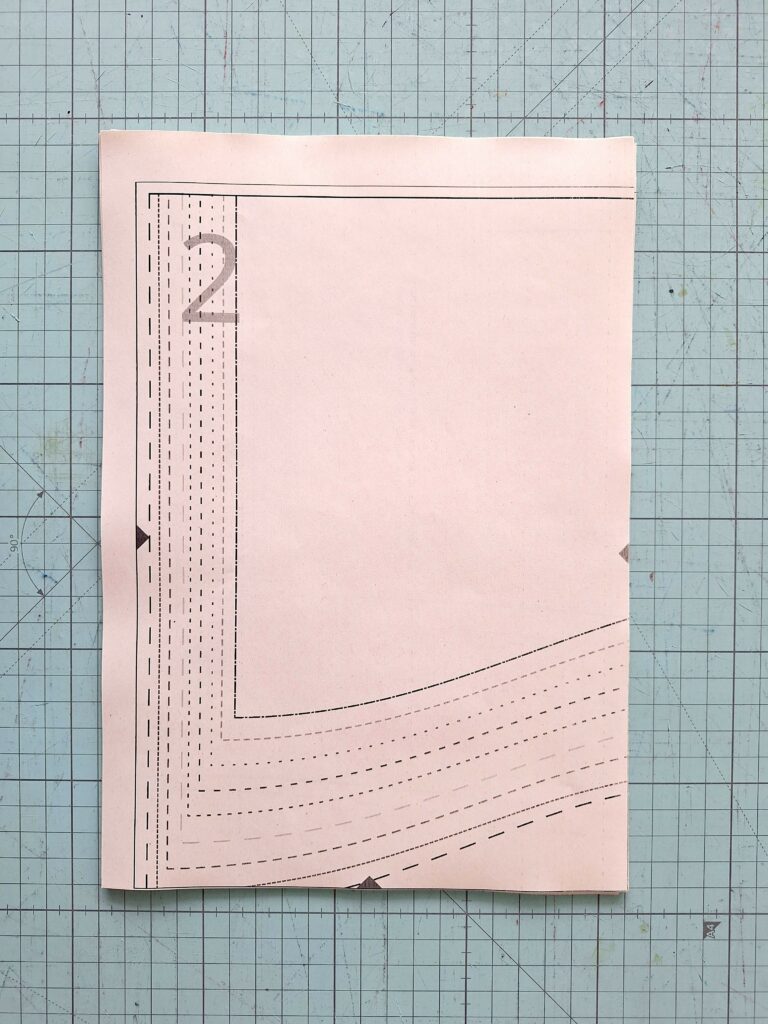
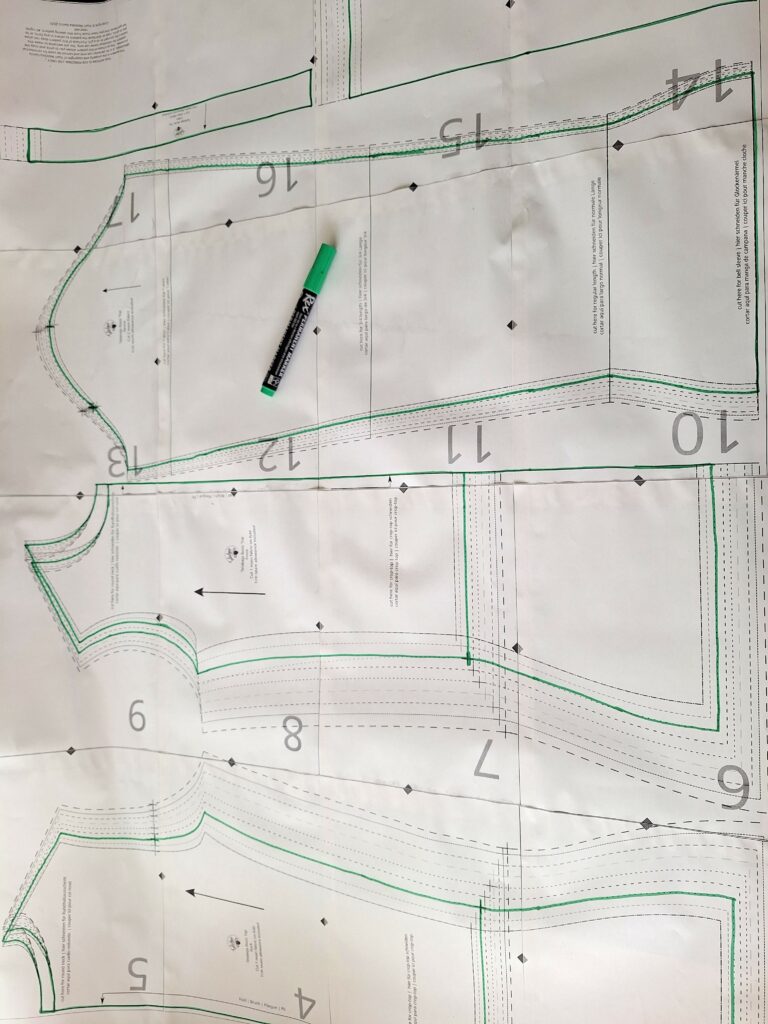
Before diving into the step-by-step guide, it’s essential to gather the necessary materials and software to ensure a smooth process. You will need a reliable printer, good quality paper (preferably A4 or Letter size), scissors or a paper trimmer, and tape or glue for assembling the pattern pieces. For viewing and printing the PDF patterns, I recommend using Adobe Acrobat Reader or Okular. These software programs provide robust tools for navigating and managing multi-page PDF documents, ensuring that your patterns print accurately and are easy to assemble.
Pro Tips for Enhancing Your Digital PDF Patterns
Elevate your pattern-making skills with these advanced techniques:
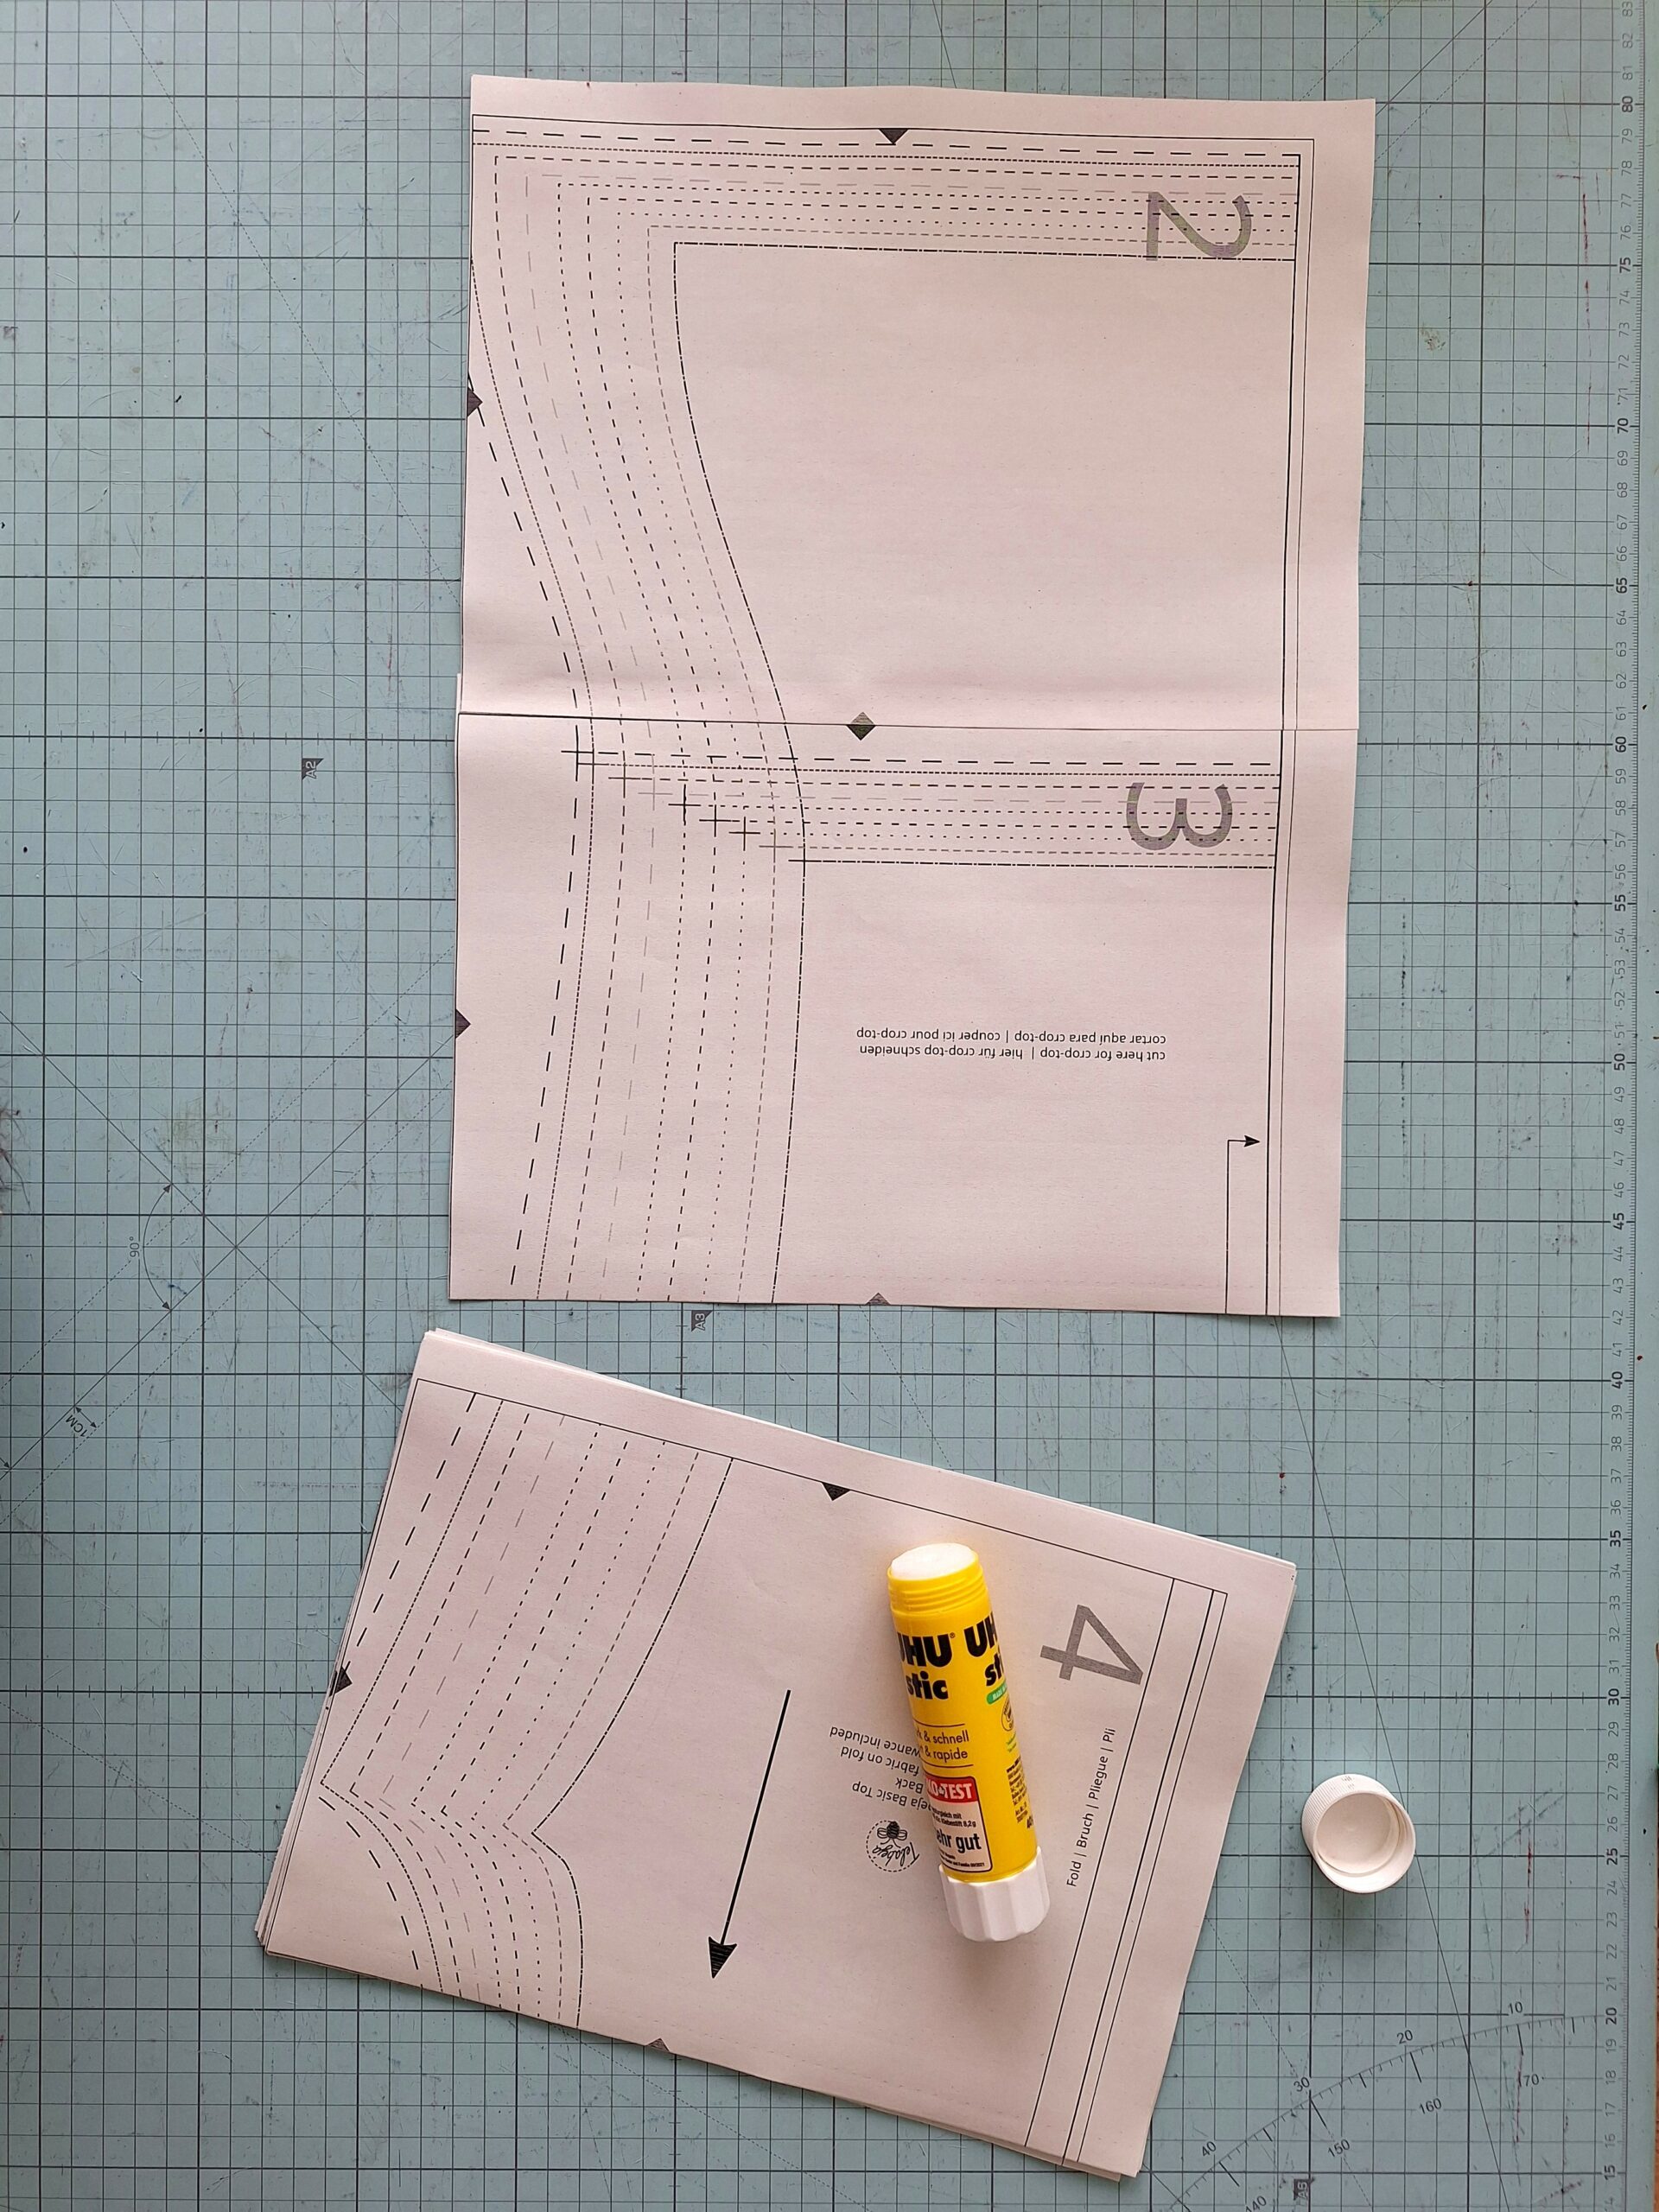
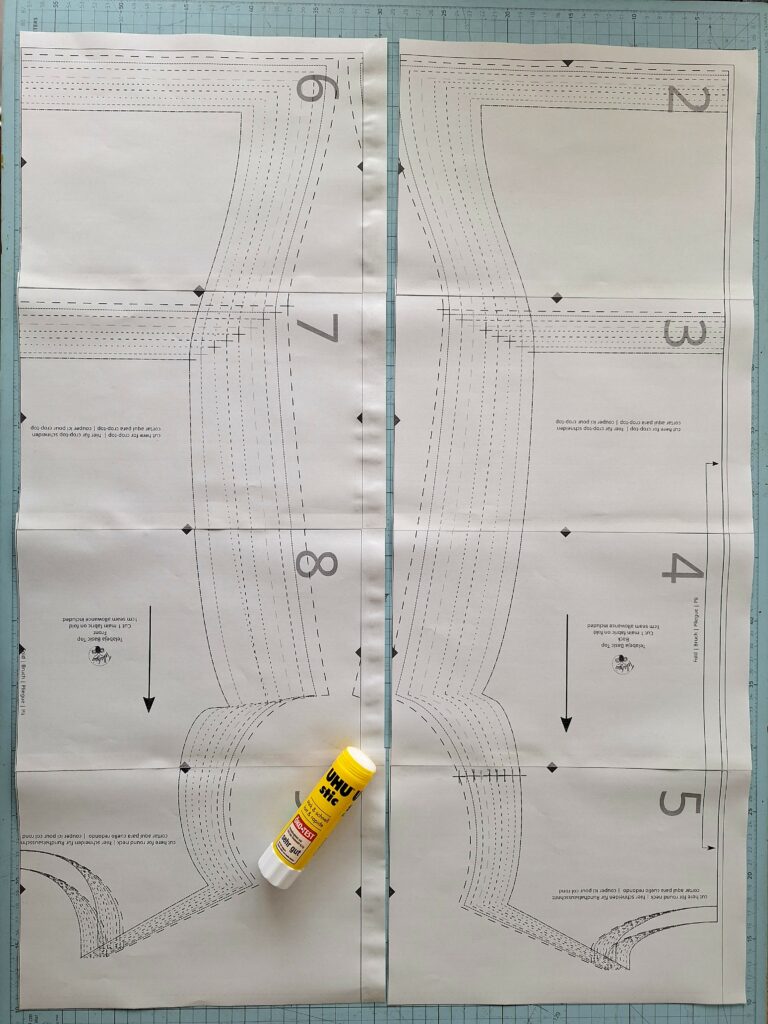
Use Glue for Durability: Instead of tape, opt for glue when assembling your pattern pieces. This allows you to iron out any wrinkles, ensuring a smooth, flat pattern that’s easier to work with on fabric.
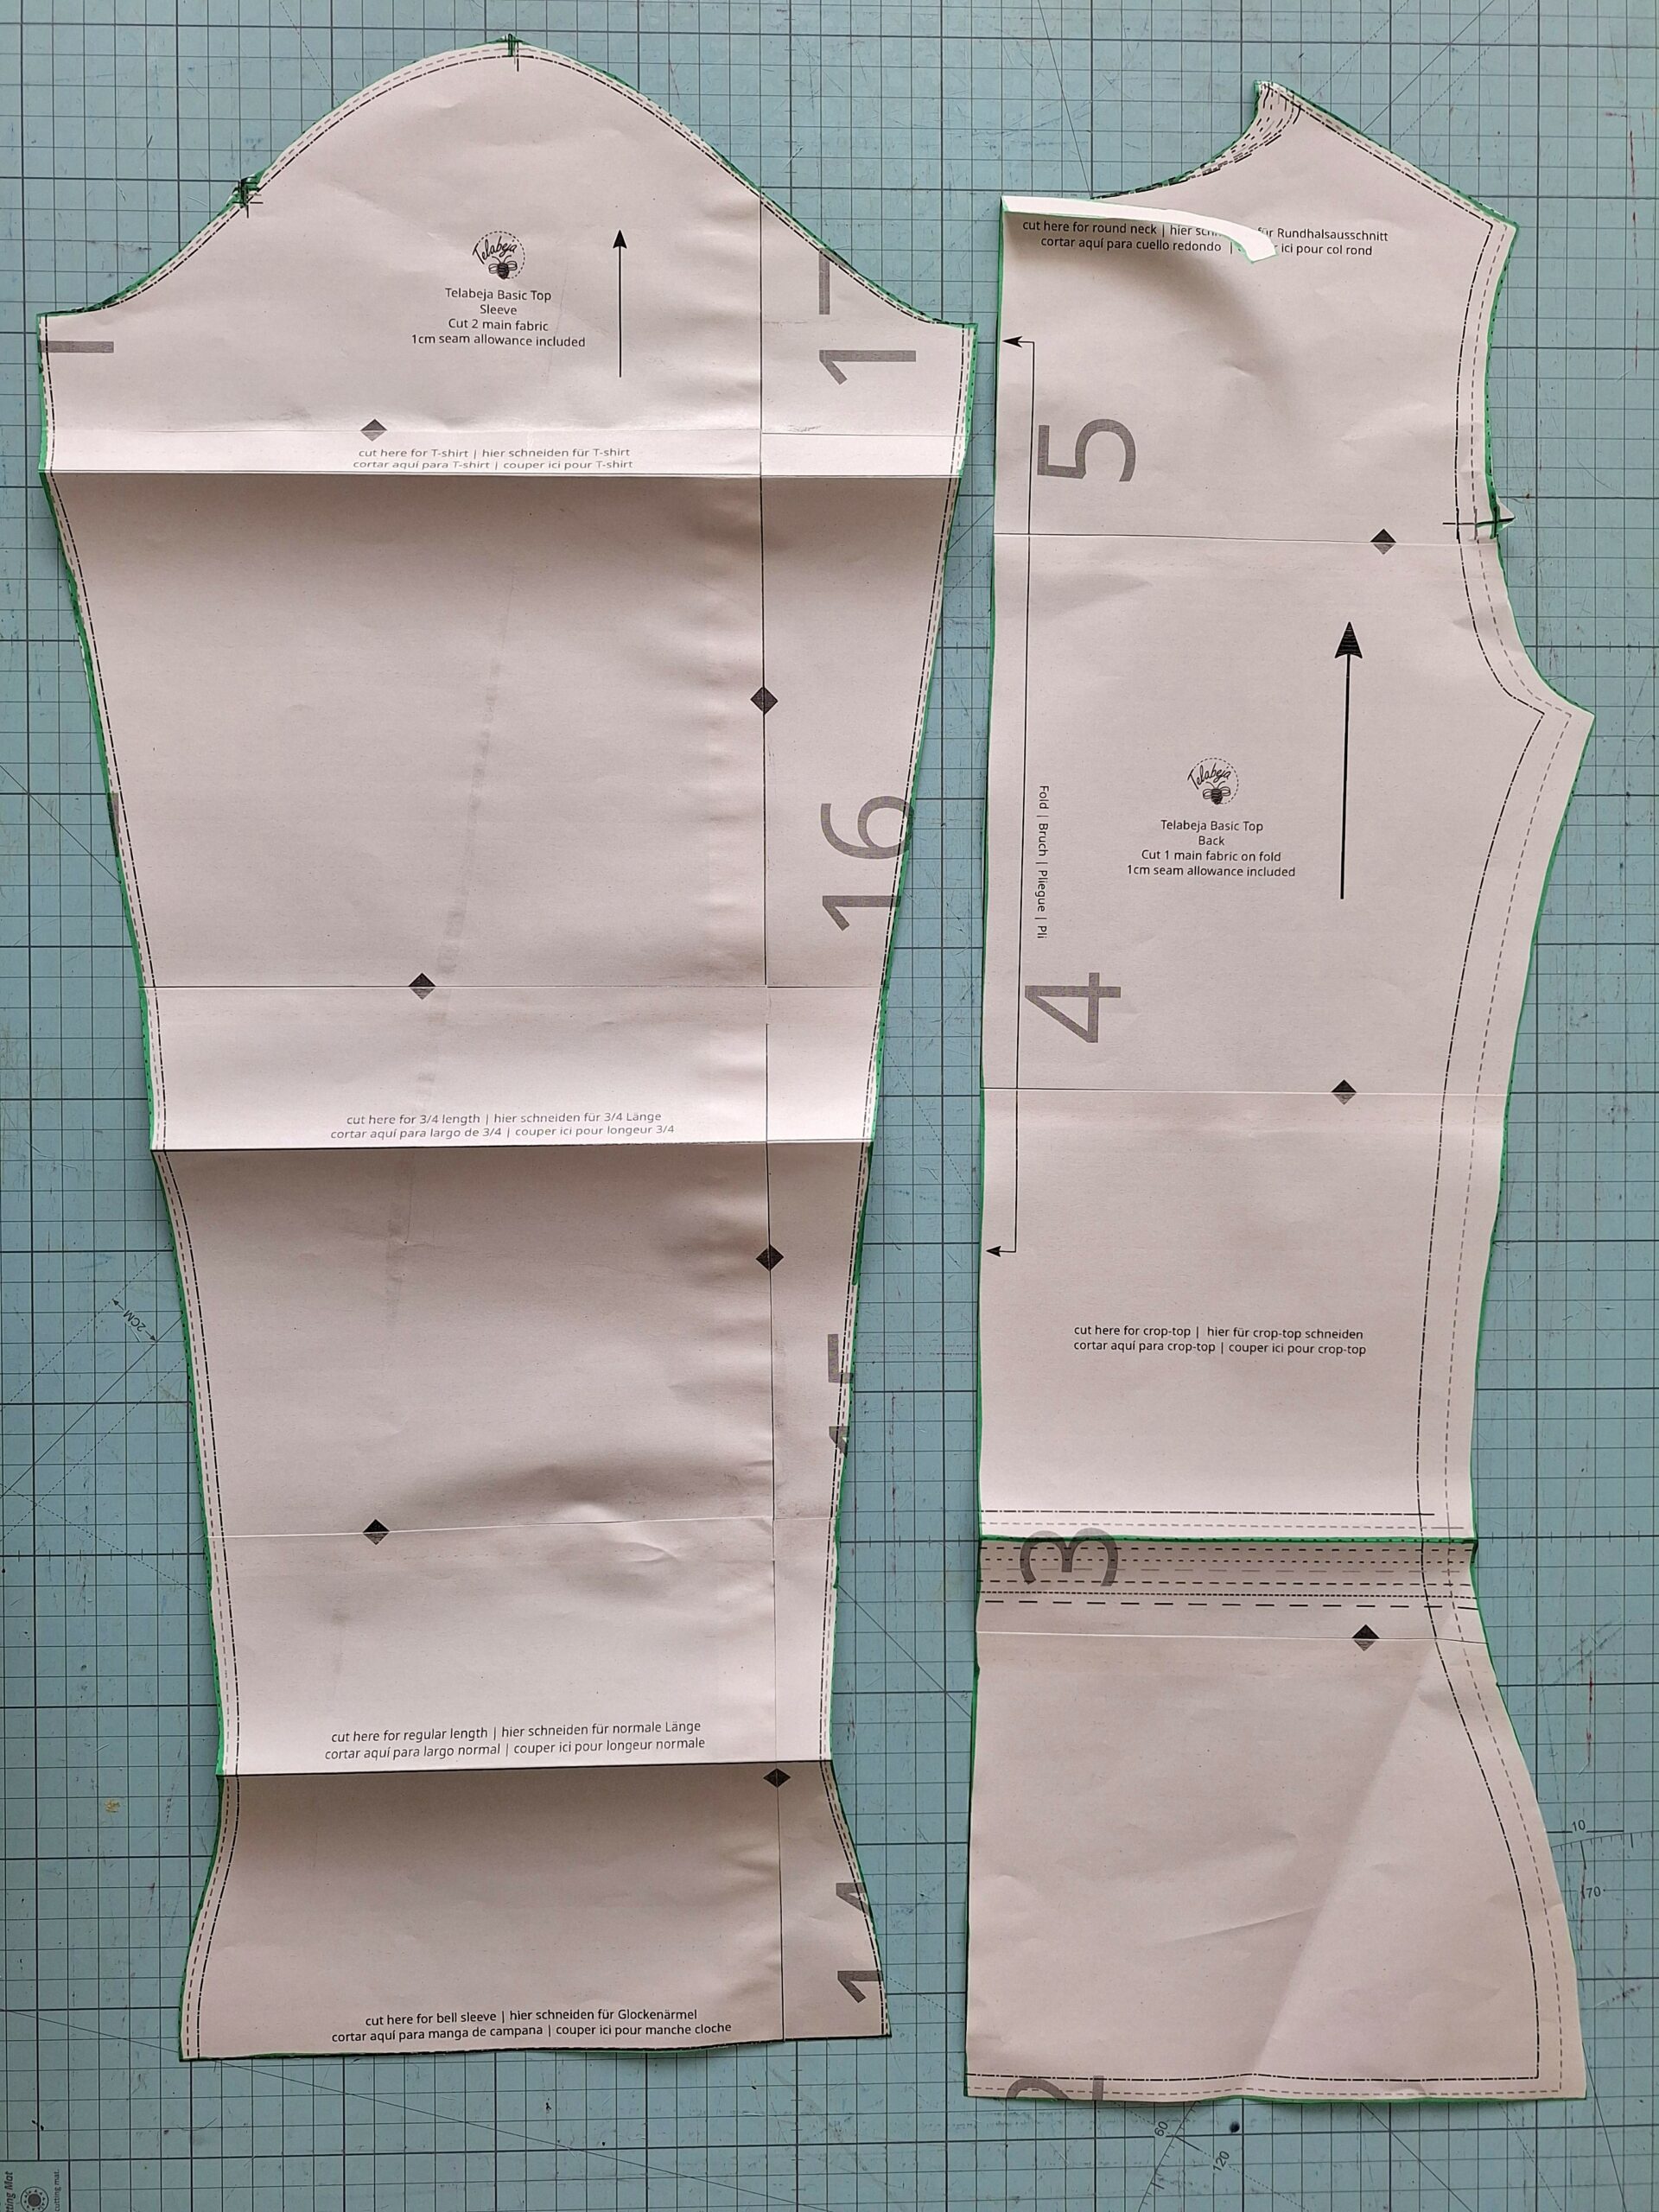
Print Full-Length Patterns: For patterns with varying lengths, print the full-length version and fold the excess. This method saves time and resources by eliminating the need to print and cut multiple versions.
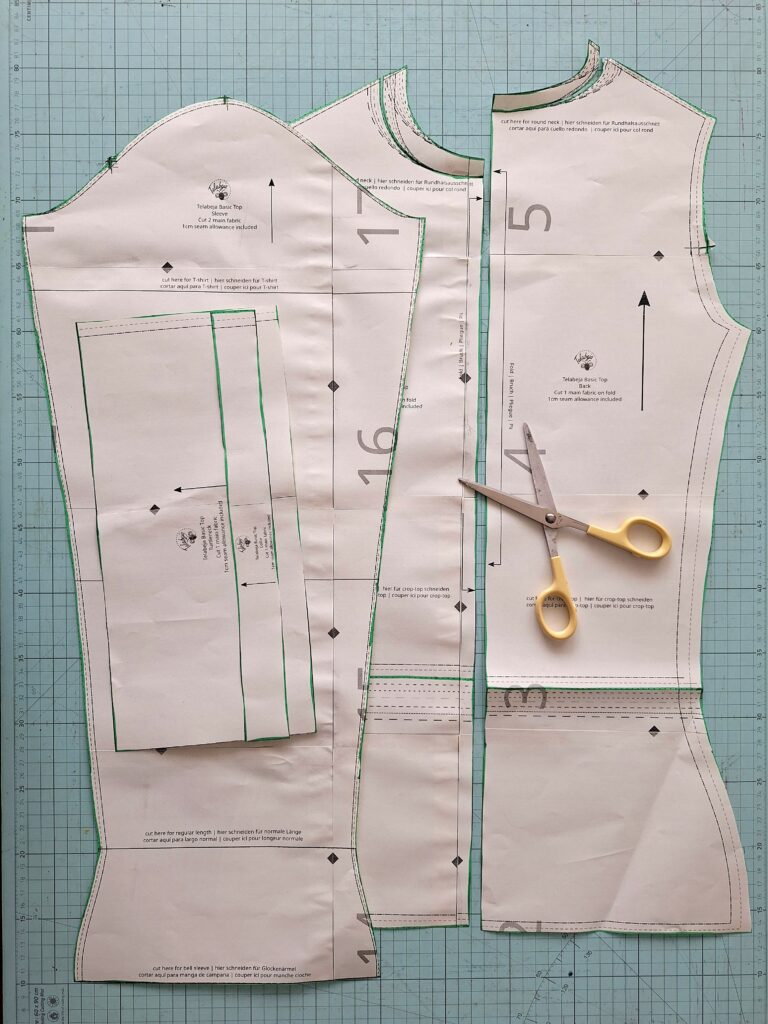
Optimize Paper Usage: Notice smaller pattern pieces nested within larger ones? Simply cut them out from the bigger pieces to conserve paper and streamline your process.
Common Mistakes and FAQs
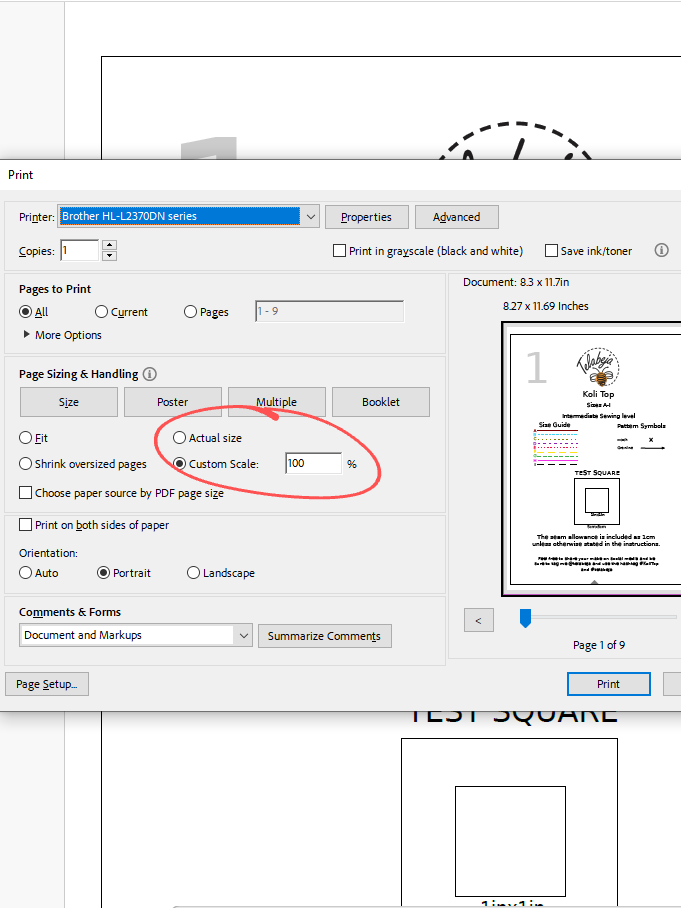
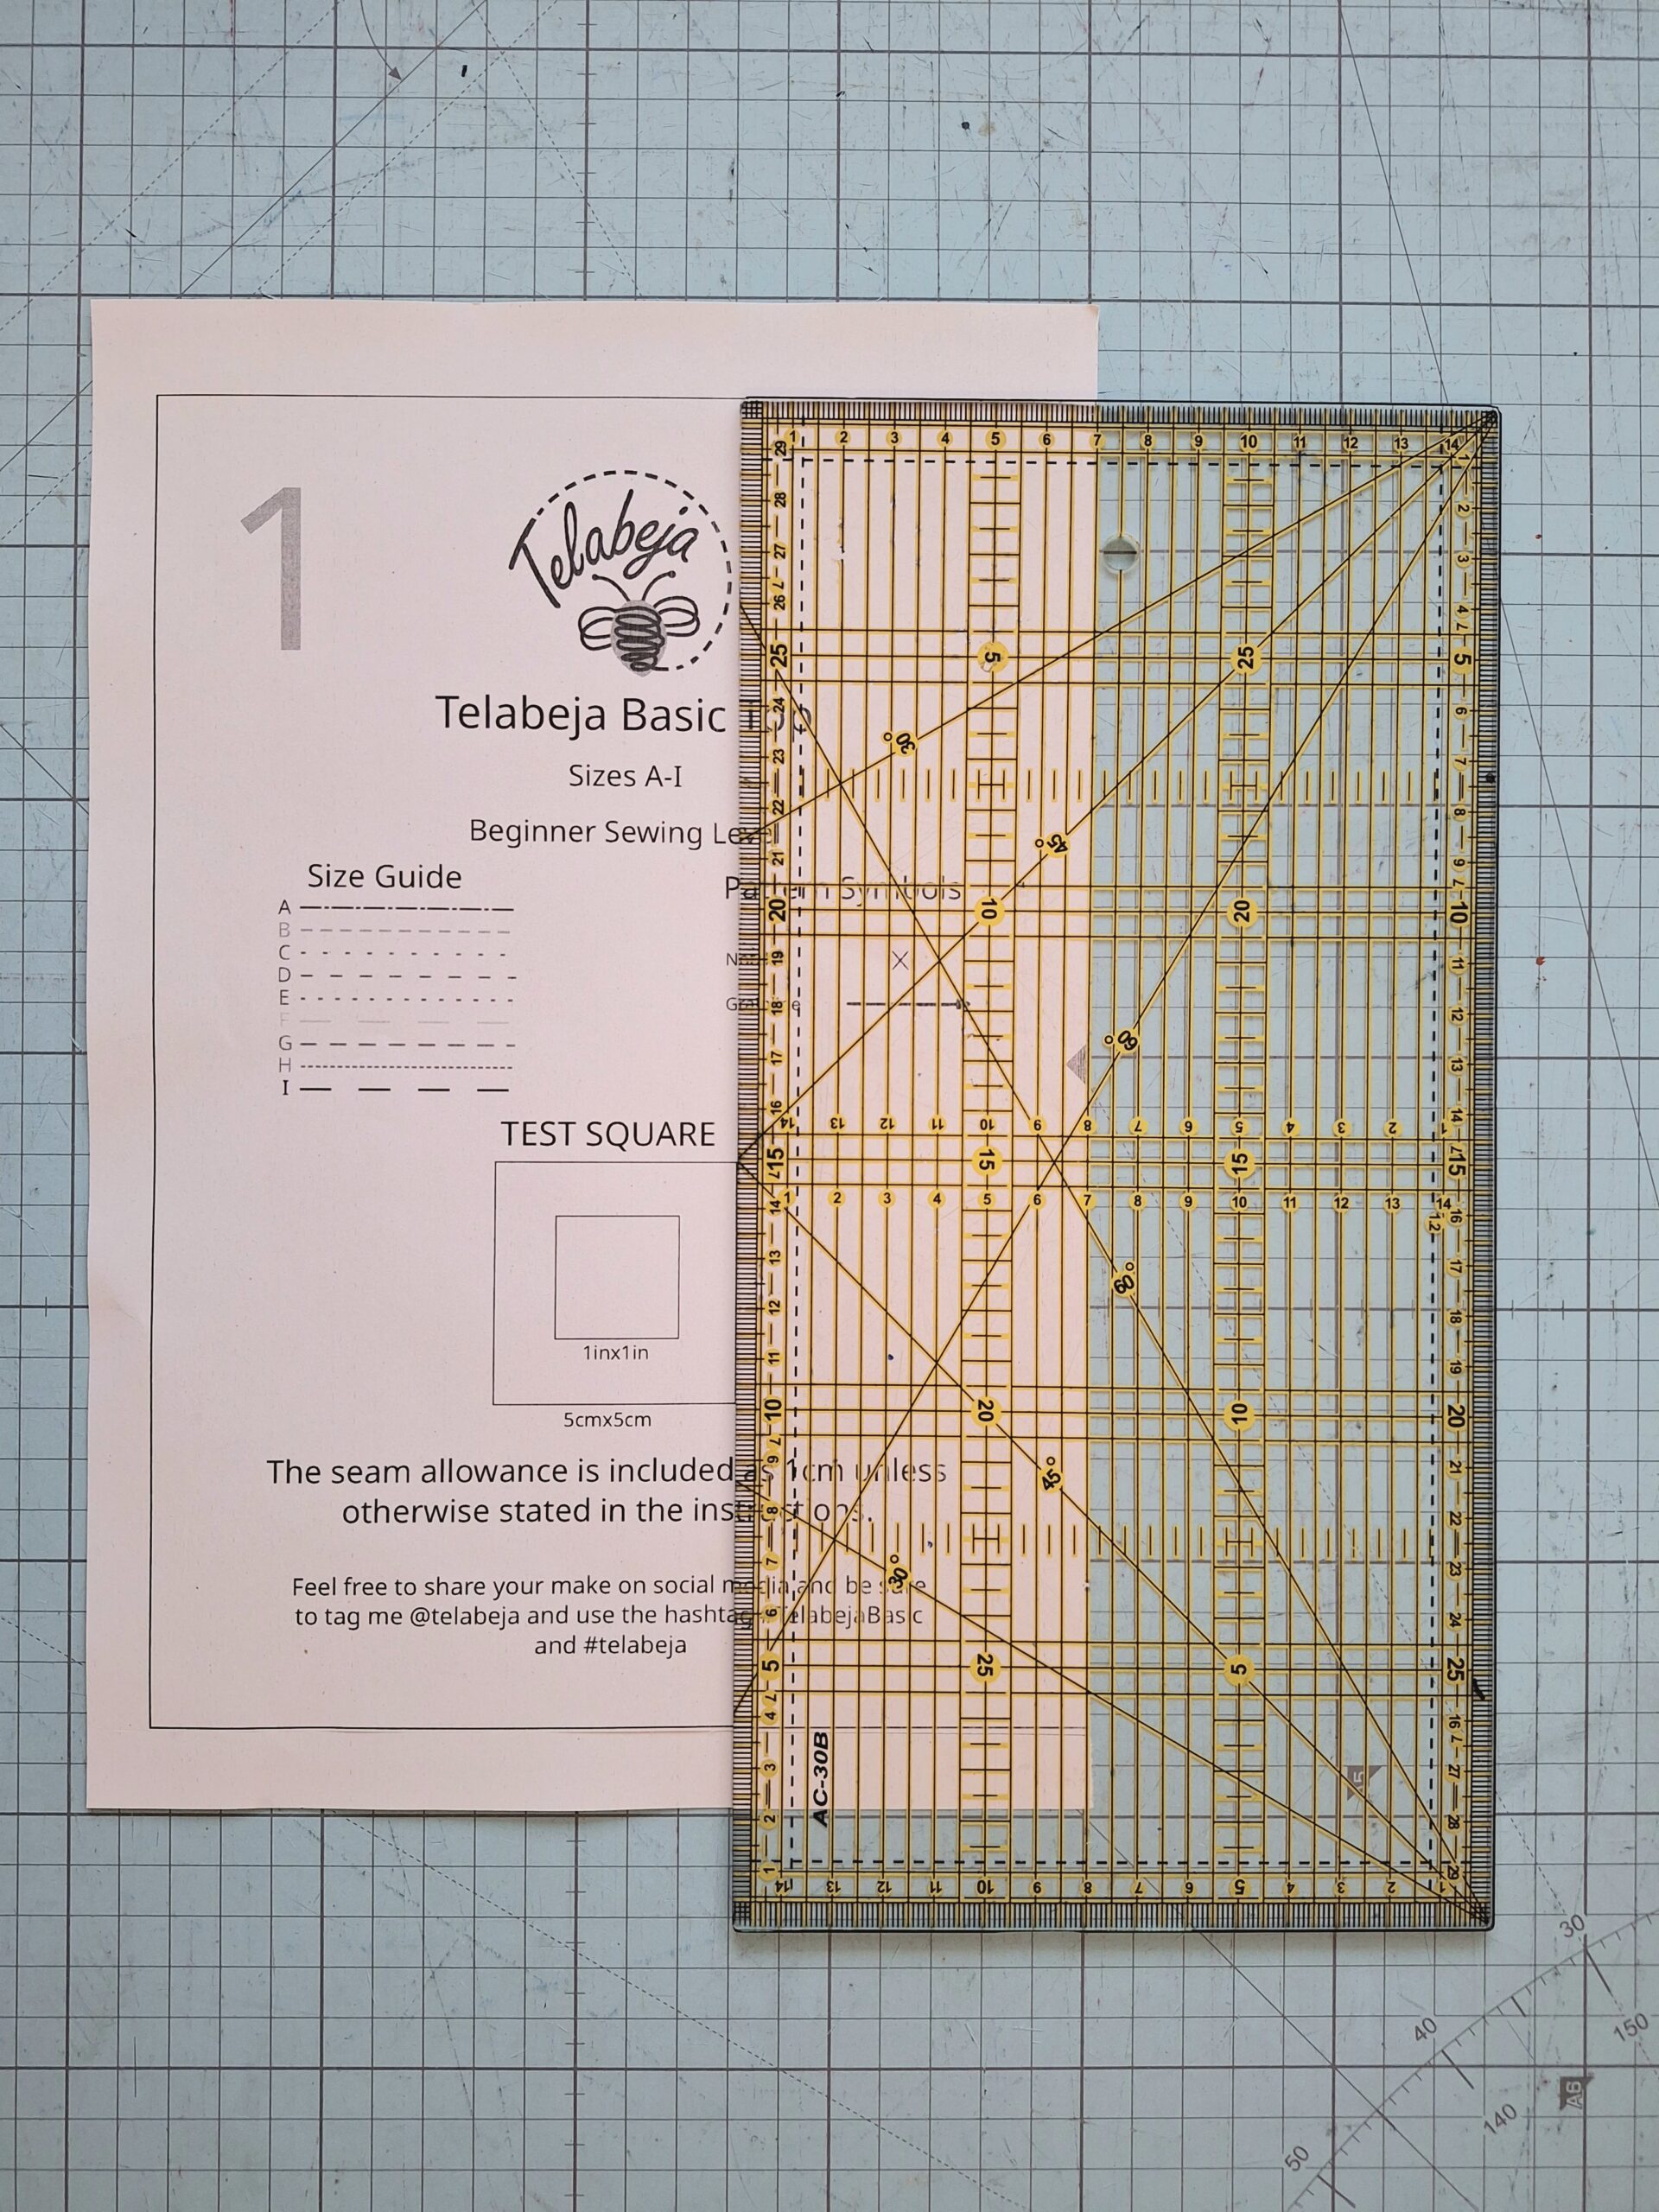
Working with digital PDF sewing patterns can be straightforward, but there are common pitfalls to avoid. One frequent mistake is printing the patterns at the incorrect scale, leading to misaligned pieces. Always ensure your printer settings are configured to print at 100% scale or “actual size.” Another issue is not double-checking the printed test square included in most patterns, which helps verify accurate printing. Additionally, rushing through the assembly process can result in mismatched seams or missing pieces. Take your time to carefully align and tape each page together. If you encounter any issues, refer to the FAQ section below for quick solutions.
FAQs:
Q: Why are my pattern pieces not lining up?
A: This usually happens due to incorrect printing scale. Ensure your printer settings are set to 100% or “actual size” and verify the test square measurements.Q: Can I use regular printer paper for sewing patterns?
A: While regular printer paper works just fine, using slightly heavier paper can make the patterns more durable and easier to work with.Q: What should I do if I’m missing a page?
A: Double-check the PDF to ensure all pages were sent to the printer. If a page is still missing, you may need to reprint it separately.
Conclusion
Embracing digital PDF sewing patterns opens up a world of convenience and creativity. By following the steps outlined in this guide and utilizing the recommended tools and software, you can confidently print, assemble, and cut your patterns with ease. Don’t be discouraged by common mistakes; instead, use them as learning opportunities to refine your skills. With practice and patience, you’ll soon be crafting beautiful garments and projects from your digital patterns. Happy sewing!
Julia 🐝🪡
